When you have a website that offers services like web hosting, e-commerce, or anything, you most likely need to provide your users with chat support. There is a lot of service that offer service live chat like Intercom, Crisp, Tidio etc, you can pick one of those and just added to your website.
But today we are not goind to do that, we will learn how to build live chat widget with next.js. Here is an example of the chat widget.
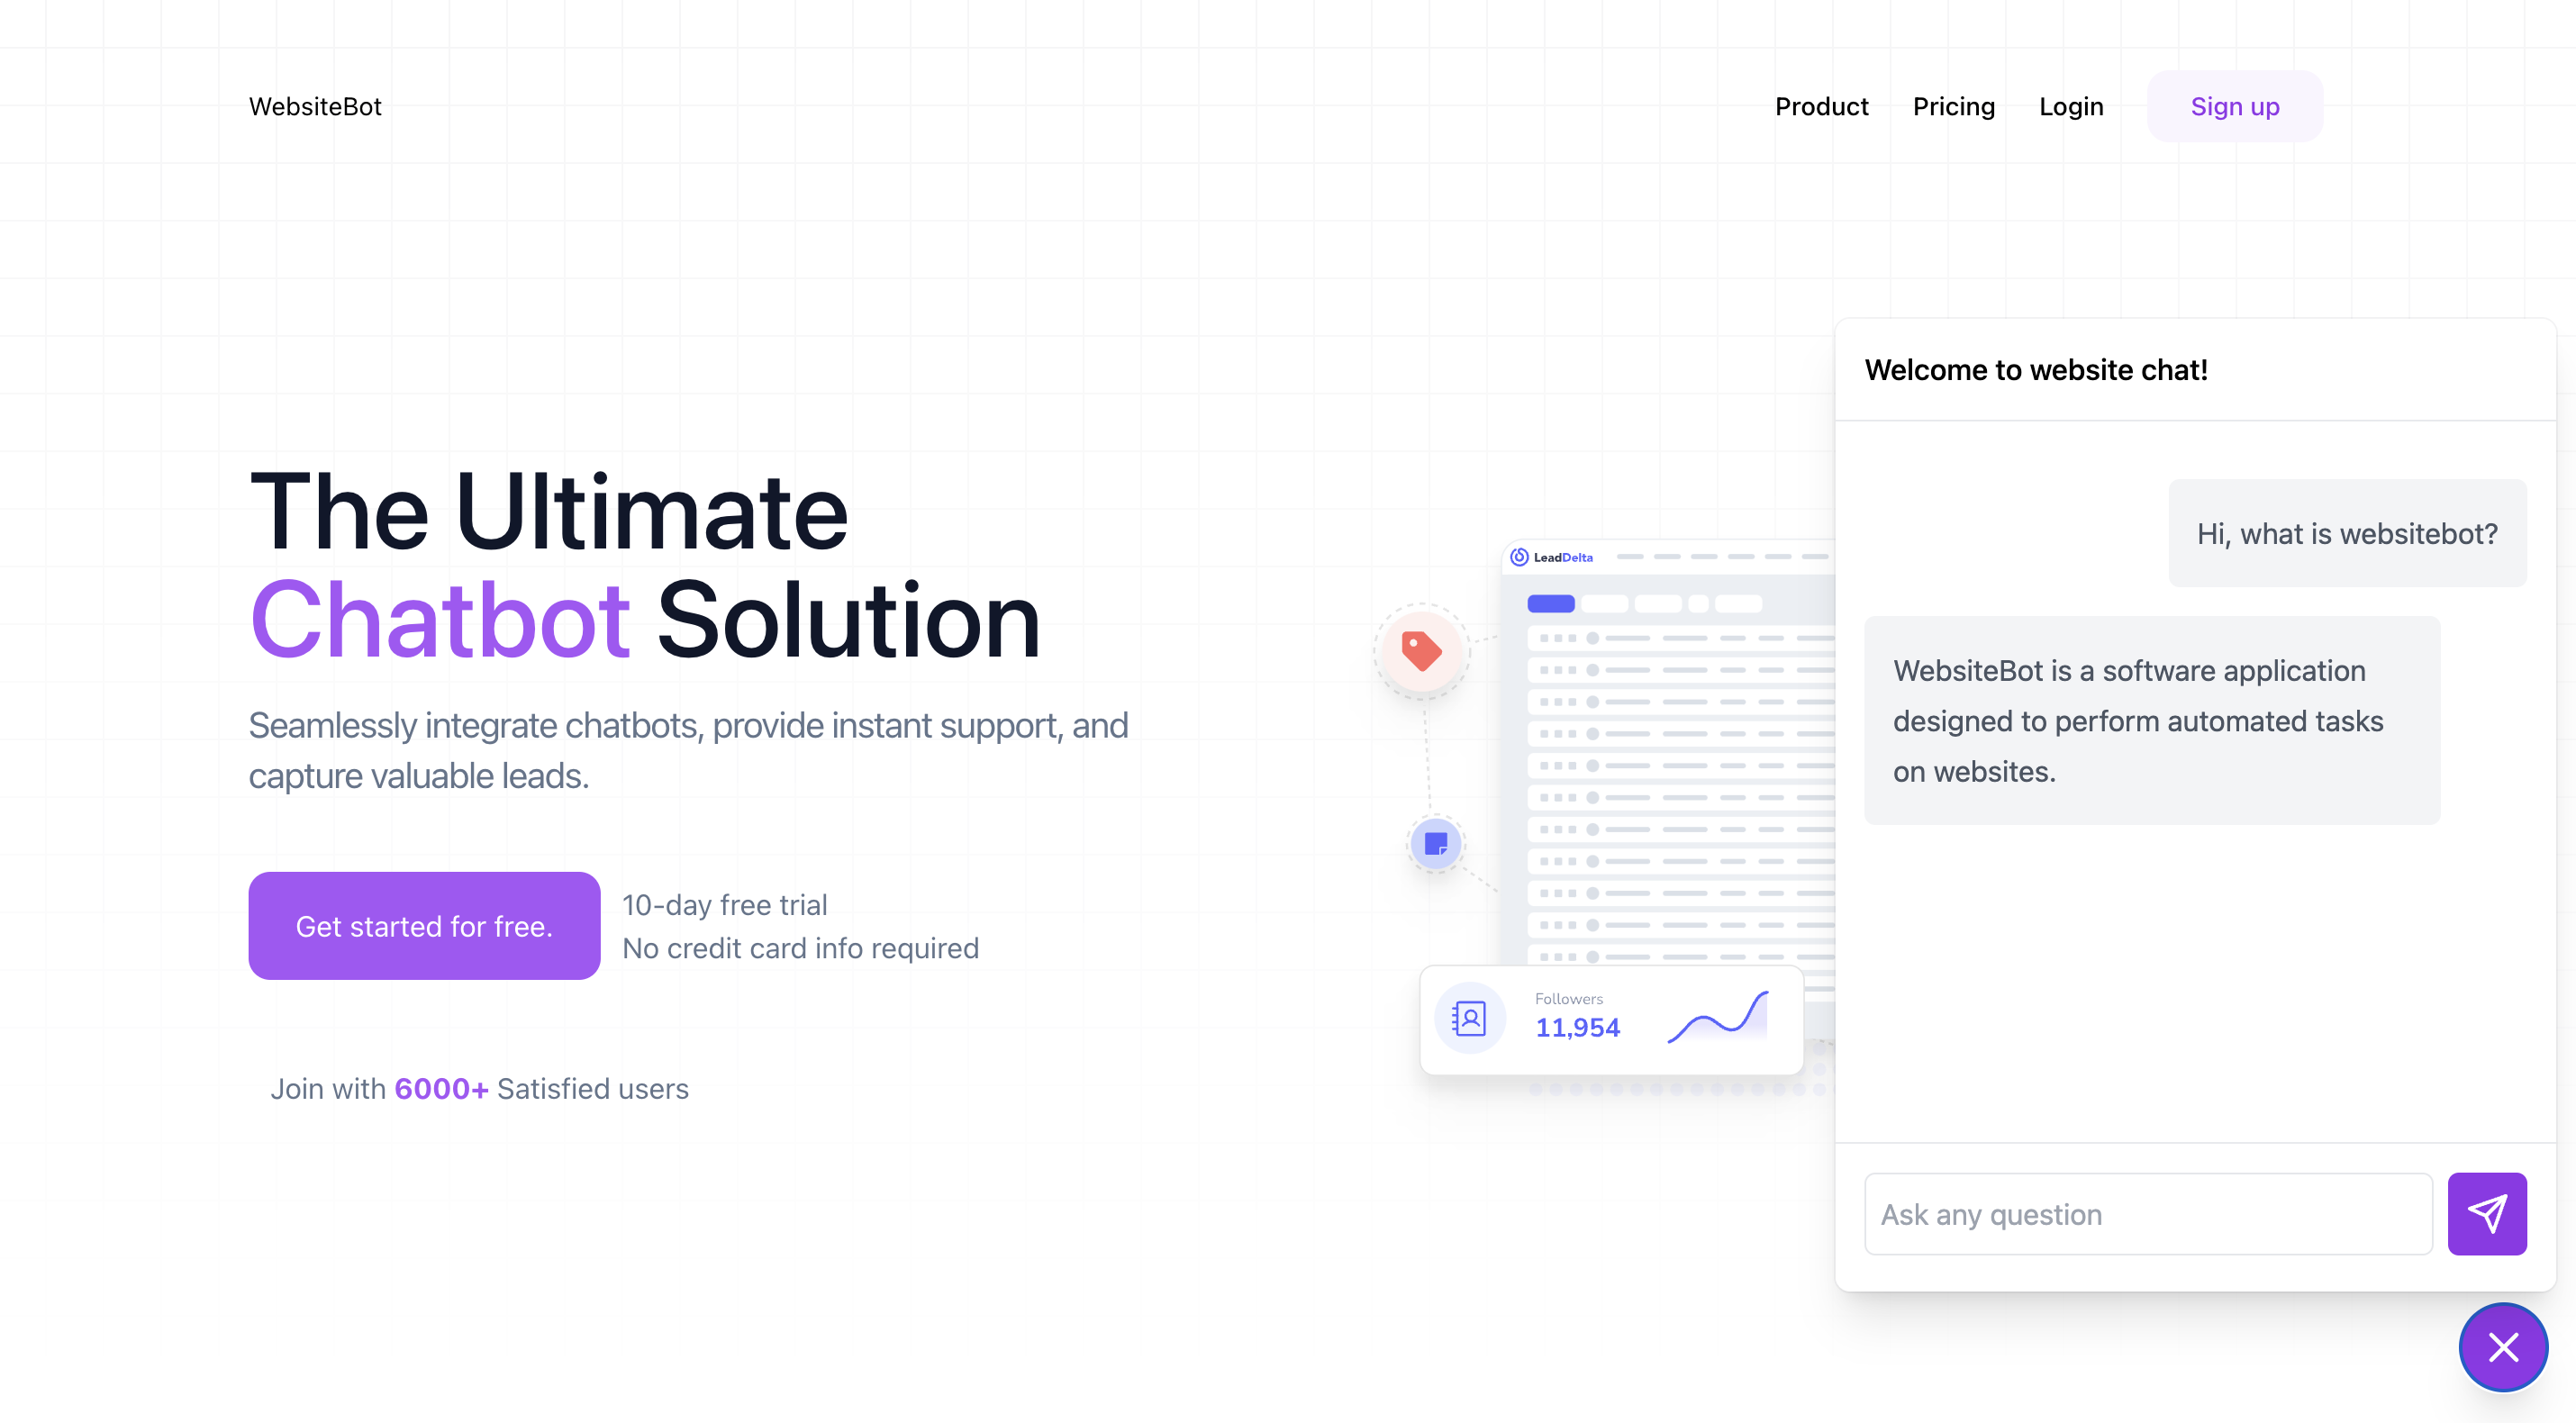
Chat Interface
Let's start with creating the chat interface itself. This interface will be embeded to any website later.
Create new file pages/chat.js:
import { useRef, useState } from "react";

export default function ChatWidget() {
  const scrollTargetRef = useRef(null);
  const intialMesages = [
    {
      role: "user",
      content: "Hi, what is websitebot?",
    },
    {
      role: "bot",
      content:
        "WebsiteBot is a software application designed to perform automated tasks on websites.",
    },
  ];
  const [messages, setMessages] = useState(intialMesages);

  const handleSubmitMessage = (e) => {
    e.preventDefault();
    const message = e.target.message.value;
    if (!message) {
      return;
    }

    setMessages([...messages, { role: "user", content: message }]);
    e.target.message.value = "";
    setTimeout(() => {
      scrollTargetRef.current.scrollIntoView({ behavior: "smooth" });
    }, 100);
  };

  return (
    <div className="relative bg-white max-w-[400px]">
      <p className="p-4 font-medium">Chat with me!</p>
      <div className="divide-y divide-gray-300/50 border-t border-gray-300/50">
        <div className="space-y-6 py-8 text-base leading-7 text-gray-600 h-[400px] overflow-y-auto">
          <ul className="space-y-4 px-4">
            {messages.map((item, idx) => (
              <li
                key={idx}
                className={`flex items-center ${
                  item.role === "user" ? "ml-10 justify-end" : "mr-10"
                }`}
              >
                <p className="bg-gray-100 p-4 rounded-md">{item.content}</p>
              </li>
            ))}
          </ul>
          <div ref={scrollTargetRef}></div>
        </div>
        <form
          onSubmit={handleSubmitMessage}
          className="p-4 flex gap-2 text-base font-semibold leading-7"
        >
          <input
            name="message"
            placeholder="Ask any question"
            className="px-2 py-1.5 border rounded-md flex-1 font-normal focus:outline-none focus:border-gray-400"
          />
          <button className="bg-gray-600 px-2.5 rounded-md text-white">
            {/* prettier-ignore */}
            <svg xmlns="http://www.w3.org/2000/svg" width="24" height="24" viewBox="0 0 24 24" fill="none" stroke="currentColor" strokeWidth="2" strokeLinecap="round" strokeLinejoin="round">
              <line x1="22" x2="11" y1="2" y2="13"></line>
              <polygon points="22 2 15 22 11 13 2 9 22 2"></polygon>
            </svg>
          </button>
        </form>
      </div>
    </div>
  );
}
In this example page we are not implementing the chat interaction, you can implement any type of chat for example you can integrate with your websocket server or using OpenAI with your embed vector data or anything.
Our focus today is building the chat widget UI itself.
Embedding Script
So the idea is to embed our chat page using iframe and we also want to display and the chat widget when user trigger the toggle button. So for that let's create file public/chat-widget.js:
(function () {
  const styleTag = `
        <style>
            #chat-widget {
                position: fixed;
                bottom: 20px;
                right: 20px;
                display: grid;
                z-index: 999999999 !important;
            }
            #chat-messages {
                height: auto;
                padding: 10px;
                overflow-y: auto;
            }
            #btn-trigger-chat {
                box-sizing: border-box;
                margin-left: auto;
                margin-top: auto;
                display: inline-flex;
                height: 3rem;
                width: 3rem;
                align-items: center;
                justify-content: center;
                border-radius: 9999px;
                color: white;
                cursor: pointer;
                background-color: #6b7280;
                border-style: none;
            }
            .h-7 {
                height: 1.75rem;
            }
            .w-7 {
                width: 1.75rem;
            }
            .rounded-lg {
                border-radius: 0.5rem;
            }
            .shadow-xl {
                --tw-ring-offset-shadow: var(--tw-ring-inset) 0 0 0
                --tw-ring-shadow: 0 0 #0000;
                --tw-shadow-colored: 0 0 #0000;
                --tw-shadow: 0 20px 25px -5px rgb(0 0 0 / 0.1),
                    0 8px 10px -6px rgb(0 0 0 / 0.1);
                --tw-shadow-colored: 0 20px 25px -5px var(--tw-shadow-color),
                    0 8px 10px -6px var(--tw-shadow-color);
                box-shadow: var(--tw-ring-offset-shadow, 0 0 #0000),
                    var(--tw-ring-shadow, 0 0 #0000), var(--tw-shadow);
            }
            .ring-1 {
                --tw-ring-color: rgb(17 24 39 / 0.05);
                --tw-ring-shadow: 0 0 #0000;
                --tw-ring-offset-color: #fff;
                --tw-ring-offset-shadow: var(--tw-ring-inset) 0 0 0
                    var(--tw-ring-offset-width) var(--tw-ring-offset-color);
                --tw-ring-shadow: var(--tw-ring-inset) 0 0 0
                    calc(1px + var(--tw-ring-offset-width)) var(--tw-ring-color);
                box-shadow: var(--tw-ring-offset-shadow), var(--tw-ring-shadow),
                    var(--tw-shadow, 0 0 #0000);
            }
        </style>
    `;

  const components = {
    icon_close: `<svg xmlns="http://www.w3.org/2000/svg" width="24" height="24" viewBox="0 0 24 24" fill="none" stroke="currentColor" stroke-width="2" stroke-linecap="round" stroke-linejoin="round" class="w-7 h-7"><line x1="18" x2="6" y1="6" y2="18"></line><line x1="6" x2="18" y1="6" y2="18"></line></svg>`,
    icon_message: `<svg xmlns="http://www.w3.org/2000/svg" width="24" height="24" viewBox="0 0 24 24" fill="none" stroke="currentColor" stroke-width="2" stroke-linecap="round" stroke-linejoin="round" class="w-7 h-7"><path d="m3 21 1.9-5.7a8.5 8.5 0 1 1 3.8 3.8z"></path></svg>`,
  };

  function intChatInterface(chatKey) {
    const chatWidget = document.createElement("div");
    chatWidget.id = "chat-widget";
    chatWidget.innerHTML = `
            <iframe id="chat-frame-widget" src="/chat" class="shadow-xl ring-1 rounded-lg" style="display: none; border: none; position: fixed; inset: auto 15px 75px auto; width: 400px; height: 540px; opacity: 1; color-scheme: none; background: white !important; margin: 0px; max-height: 100vh; max-width: 100vw; transform: translateY(0px); transition: none 0s ease 0s !important; visibility: visible; z-index: 999999999 !important;"></iframe>
            <button id="btn-trigger-chat" class="shadow-xl ring-1">${components.icon_message}</button>
            `;

    document.head.insertAdjacentHTML("beforeend", styleTag);
    document.body.appendChild(chatWidget);

    const btn = document.getElementById("btn-trigger-chat");
    const frameWidget = document.getElementById("chat-frame-widget");
    frameWidget.style.display = "none";
    btn.addEventListener("click", () => {
      if (btn.innerHTML === components.icon_message) {
        btn.innerHTML = components.icon_close;
        frameWidget.style.display = "block";
      } else {
        btn.innerHTML = components.icon_message;
        frameWidget.style.display = "none";
      }
    });
  }

  window.ChatWidget = {
    init: intChatInterface,
  };
})();
So basically in this code we are adding new html element to the page that will be embedding the chat widget.
<div>
  <iframe src="..."></iframe>
  <button id="trigger-btn"></button>
</div>
The rest is just some styling to make it look clean.
Embedding to the page
This is the final step to embedding our chat widget. Use this way if you want to embed to Next.js page.
Import script tag:
import Script from "next/script";Add script tag element to the page you want to embed the chat widget.
<Script src="/chat-widget.js"></Script>
<Script>{`
window.onload = function() {
    ChatWidget.init("xx-slkUdka819...");
};
`}</Script>
And you this if you want to embed the script to native html element.
<script src="/chat-widget.js"></script>
<script>
  window.onload = function () {
    ChatWidget.init("xx-slkUdka819...");
  };
</script>
And that's it you are all set up now.
Conslusion
In this article we have learn how to build a chat widget using Next.js, the focus was primarily on creating the chat widget's user interface, with an example code that includes the necessary components and functionality.
While we din't dive into the implementation of chat interactions, it provided a solid foundation for building the UI of a chat widget.