Today, we are going to have some fun with motion graphics in JavaScript. We are going to create simple animations like this:

Motion Canvas
Before that let's talk about this awesome library called motion-canvas. Motion Canvas is a free and open source project it designed to create informative vector animations. You can also call it motion graphics animation if you like.
The way we create animation with this library is very simple. We just need to define a component and then animate it frame by frame. Here's an example code to make it more understandable.
// Define a view component
view.add(
  <Layout direction={"column"}>
    <Txt
      ref={title}
      fill="#e6a700"
      position={[-700, 0]}
      fontFamily={"Fira Code"}
    >
      Hello world
    </Txt>
  </Layout>
);

// Then animate
yield *
  all(
    title().position.x(700, 0.8).to(-700, 0.8),
    title().fill("#e13238", 1).to("#e6a700", 1)
  );
This will make the animation look like this:
Create Project
Before you create a project you need to make sure that your nodejs version is at least v16. Then you can create new project with the official cli command like this:
npm init @motion-canvas@latestThen fill the project config like this:
$ npm init @motion-canvas@latest

✔ Project name … my-animation
✔ Project path … my-animation
✔ Language › TypeScript (Recommended)

√ Scaffolding complete. You can now run:
  cd my-animation
  npm install
  npm run serve
This is the project folder tree.
.
├── package.json
├── public
├── src
│   ├── motion-canvas.d.ts
│   ├── project.ts
│   └── scenes
│       └── example.tsx
├── tsconfig.json
└── vite.config.ts
Here's what you need to know about the project structure:
src/project.ts: This is the place where you can configure the project settings such as the scene size, background color, etc.src/scenes/*: This is where you code all the graphics and animation. You can also have multiple scenes.vite.config.ts: Motion Canvas displays the animations in the browser, mostly on Google Chrome. It is not fully supported on Firefox and Safari, so make sure that you have Google Chrome installed on your machine. All the web development server stuff will be handled by this file.
Now after installing the dependency you can start the development server with this command:
npm run serveBy default this will start server with this addres http://127.0.0.1:9000/.
Create Scene
Let's start creating the animation. All the views will be added to the scene, and we can use JSX to create the UI components.
Before creating a scene, let's first config our project settings like this:
import { makeProject } from "@motion-canvas/core";

import example from "./scenes/example?scene";

export default makeProject({
  scenes: [example],
});
If you want to create multiple scene you can do it like this:
export default makeProject({
  scenes: [example, scene2, scene3, ...],
});
OK, let's work on our first scene. On every file that we define as scene need to export a function module. So, for that we can use motion-canvas lib like this.
import { makeScene2D } from "@motion-canvas/2d/lib/scenes";
import { waitFor } from "@motion-canvas/core/lib/flow";
export default makeScene2D(function* (view) {
// Create your animations here
yield* waitFor(5);
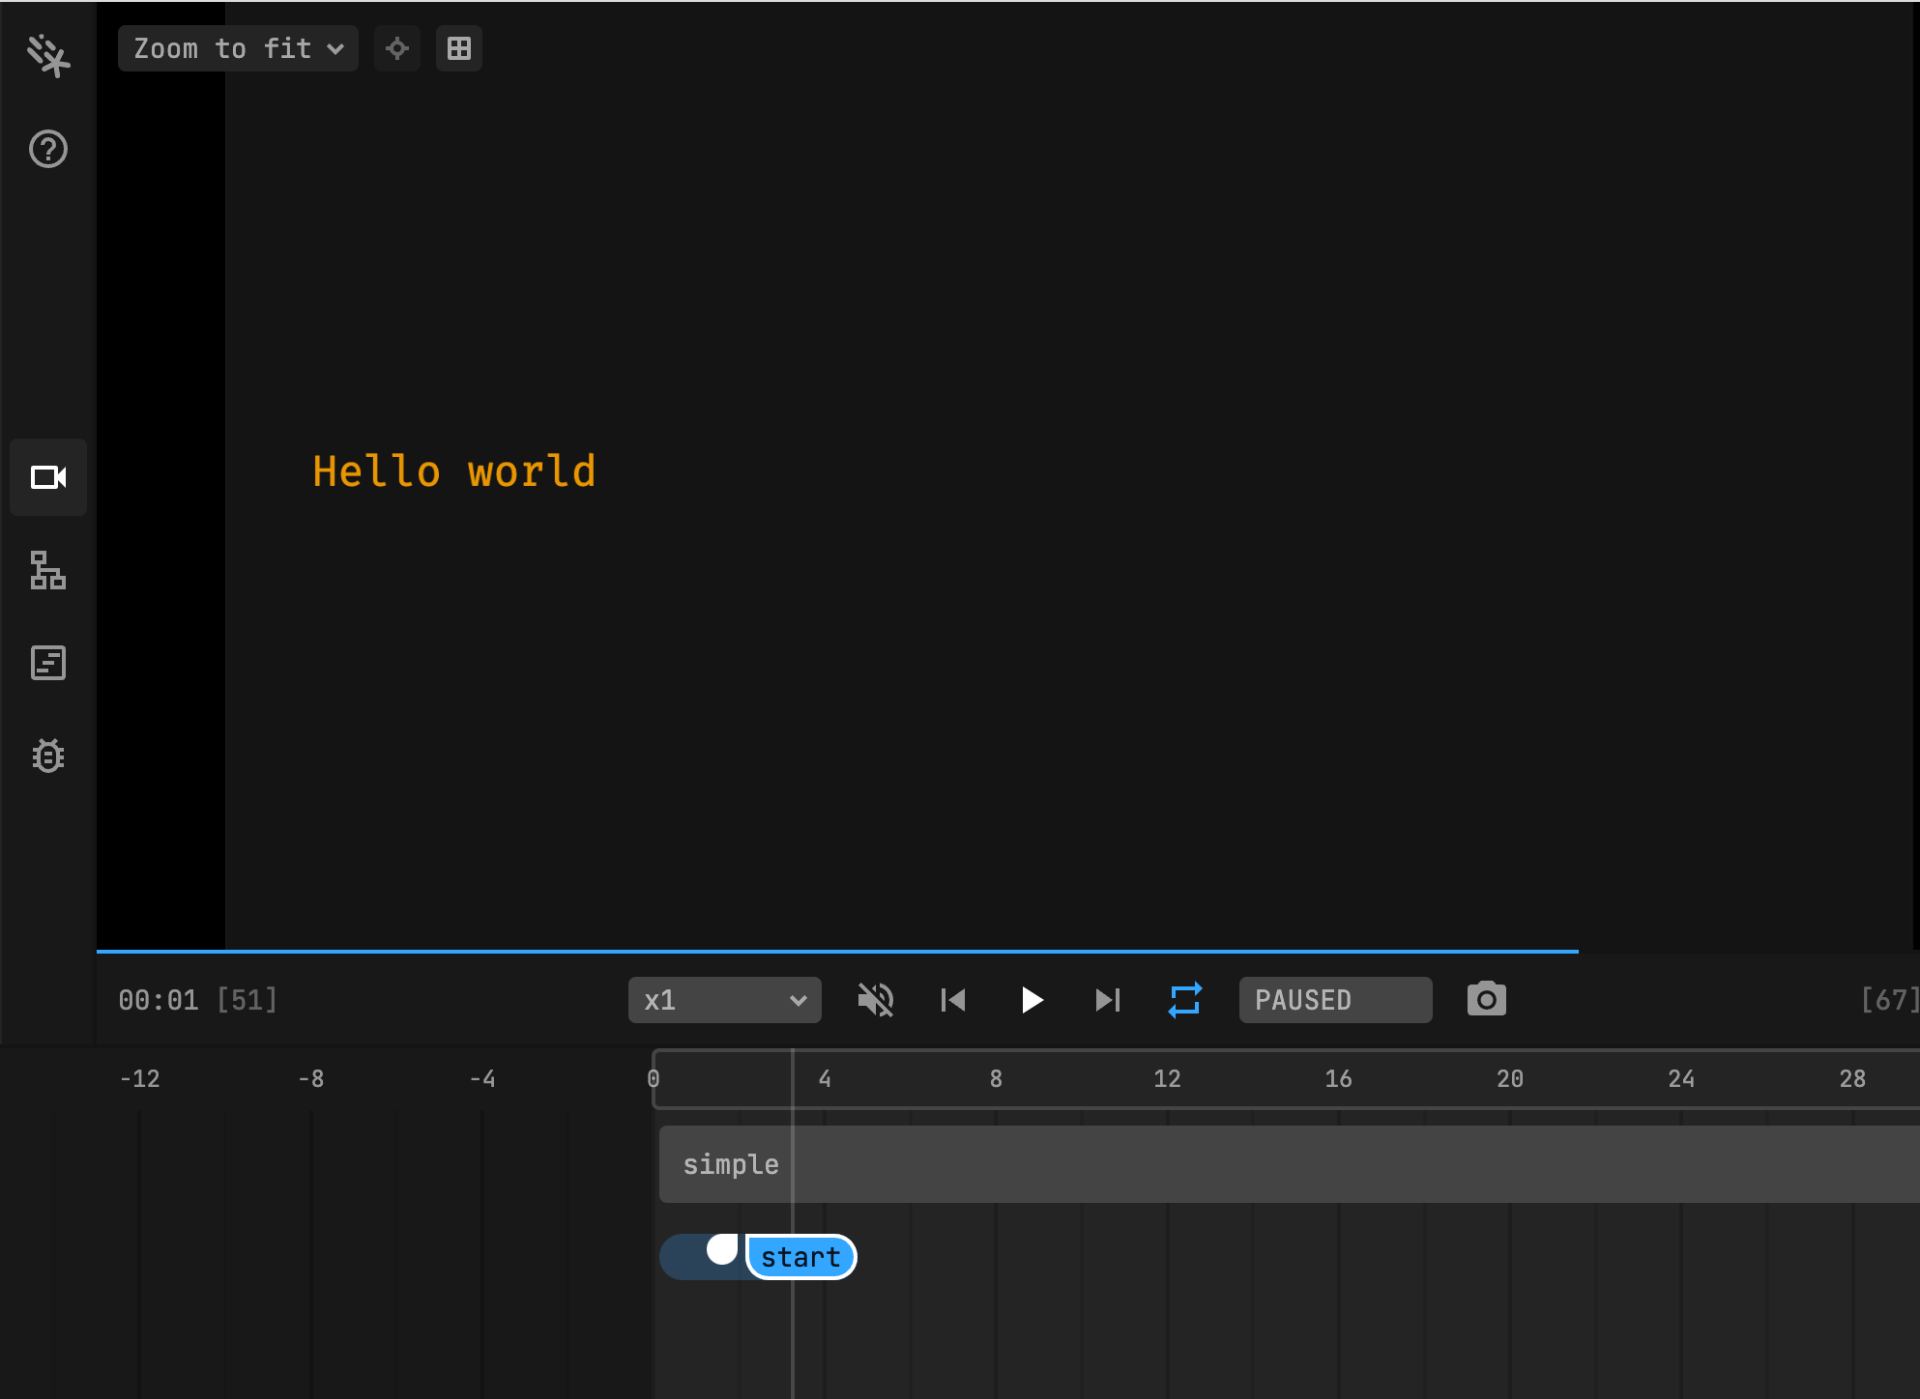
});To add view component with jsx to the scene we can do it like this:
...
import { createRef } from "@motion-canvas/core/lib/utils";
import { Layout, Txt } from "@motion-canvas/2d/lib/components";
...

  const title = createRef<Txt>();

  view.add(
    <Layout direction={"column"}>
      <Txt
        ref={title}
        fill="#e6a700"
        position={[-700, 0]}
        fontFamily={"Fira Code"}
      >
        Hello world
      </Txt>
    </Layout>
  );
We need to have a reference to add some animation to the component. With this code now we can add simple animation like this.
yield * waitUntil("start");

yield *
  all(
    title().position.x(700, 0.8).to(-700, 0.8),
    title().fill("#e13238", 1).to("#e6a700", 1)
  );

yield * waitFor(0.2);
With this code, the animation will look like this.
One thing you need to know is this code yield * waitUntil("start");. This is a control that you can use to wait for a frame until it reaches the time of the label. This is useful when we need to sync our animation with the audio that we have. You can also give the label any text you like, for example, "start-scene", etc.
And you don't need to worry about it, as the motion-canvas library will save the state of it to the scene meta file like this.
{
  "version": 0,
  "timeEvents": [
    {
      "name": "start",
      "targetTime": 0.045138888888888874
    }
  ],
  "seed": 3634030793
}
Working with Array components
In the example above, we have already created a simple animation for a single text component. However, sometimes it's better to handle multiple components dynamically.
So let's try to make our current animation have dynamic control.
import { makeScene2D } from "@motion-canvas/2d/lib/scenes";
import { Layout, Txt } from "@motion-canvas/2d/lib/components";
import { makeRef, range } from "@motion-canvas/core/lib/utils";
import { all, any, waitFor, waitUntil } from "@motion-canvas/core/lib/flow";

export default makeScene2D(function* (view) {
  const titles: Txt[] = [];

  view.add(
    <Layout direction={"column"}>
      {range(5).map((_, idx) => (
        <Txt
          ref={makeRef(titles, idx)}
          fill="#e6a700"
          position={[-700, -200 + idx * 100]}
          fontFamily={"Fira Code"}
        >
          Hello world
        </Txt>
      ))}
    </Layout>
  );

  yield* waitUntil("start");

  yield* all(
    ...titles.map((title, idx) => {
      const factor = 0.8 + idx * 0.05;
      return any(
        title.position.x(700, factor).to(-700, factor),
        title.fill("#e13238", 1).to("#e6a700", 1)
      );
    })
  );

  yield* waitFor(0.2);
});
What we have done to this component is:
const titles: Txt[] = [];: We use this variable to store all our references for the component.ref={makeRef(titles, idx)}: We use the custom helper to handle creating the refereces.- To animate the value we can do it using array map like this.
yield *
  all(
    ...titles.map((title, idx) => {
      const factor = 0.8 + idx * 0.05;
      return any(
        title.position.x(700, factor).to(-700, factor),
        title.fill("#e13238", 1).to("#e6a700", 1)
      );
    })
  );
The final product will be like this.
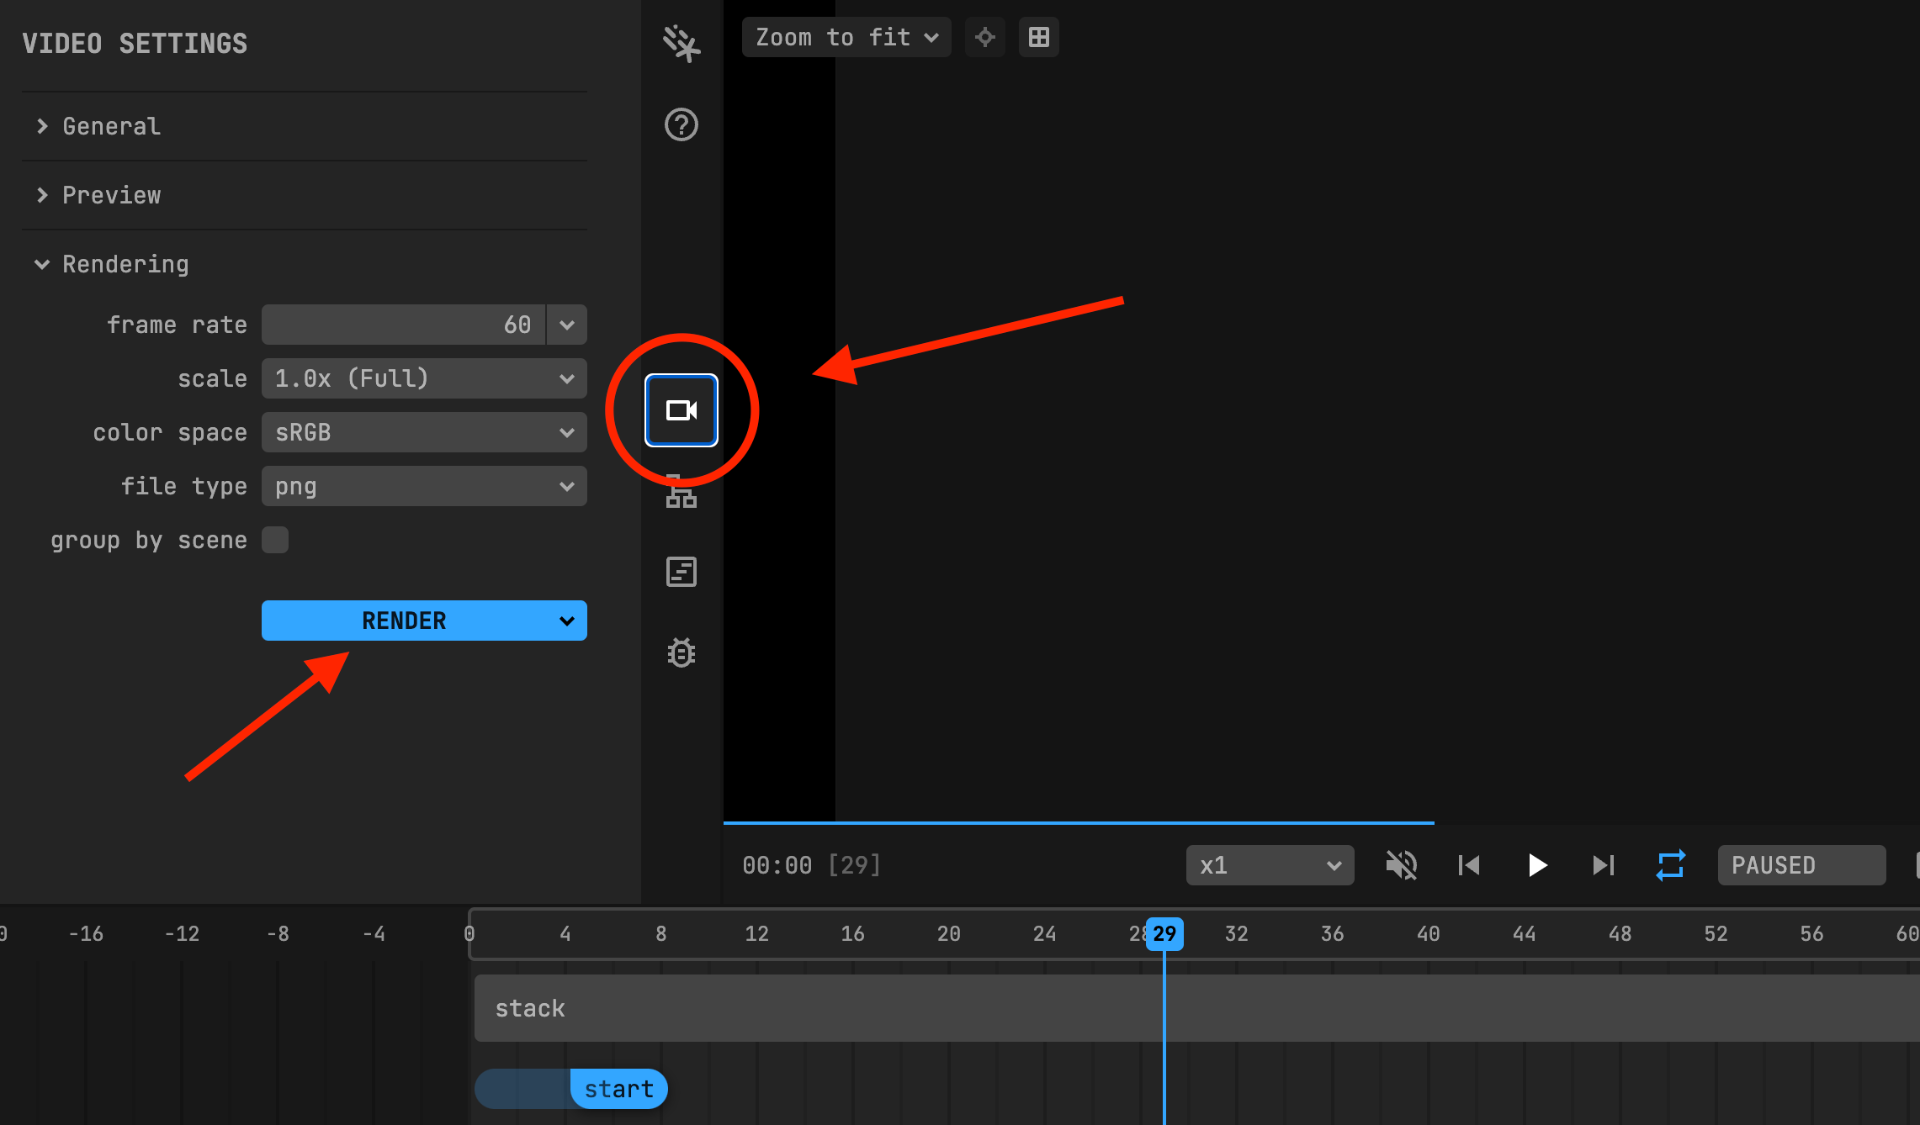
Exporting The Animation
By default motion-canvas only rendering a pixel to a html canvas element. To export our animation to a video or gif we need to us other tools. In this case we can use ffmpeg to handle it.
First go to the preview browser http://127.0.0.1:9000/ and the click RENDER this will generate images for every frame of our animation.
After finishing the rendering you can see the images on your root project at folder output/{project-name}. Then you can convert it to video or image using ffmpeg like this.
Video:
ffmpeg -framerate 30 -i output/project/%06d.png -c:v libx264 -r 30 -pix_fmt yuv420p output.mp4GIF:
ffmpeg -i output/project/%06d.png -filter_complex "[0:v]scale=640:-2,split[x][z];[x]palettegen[y];[z][y]paletteuse" demo.gif