If you need to create a drag-and-drop component, look no further than dnd-kit. This library is one of the most popular solutions for drag and drop, and is available on GitHub.
Today we will building simple sortable drand drop component using the dnd-kit library.
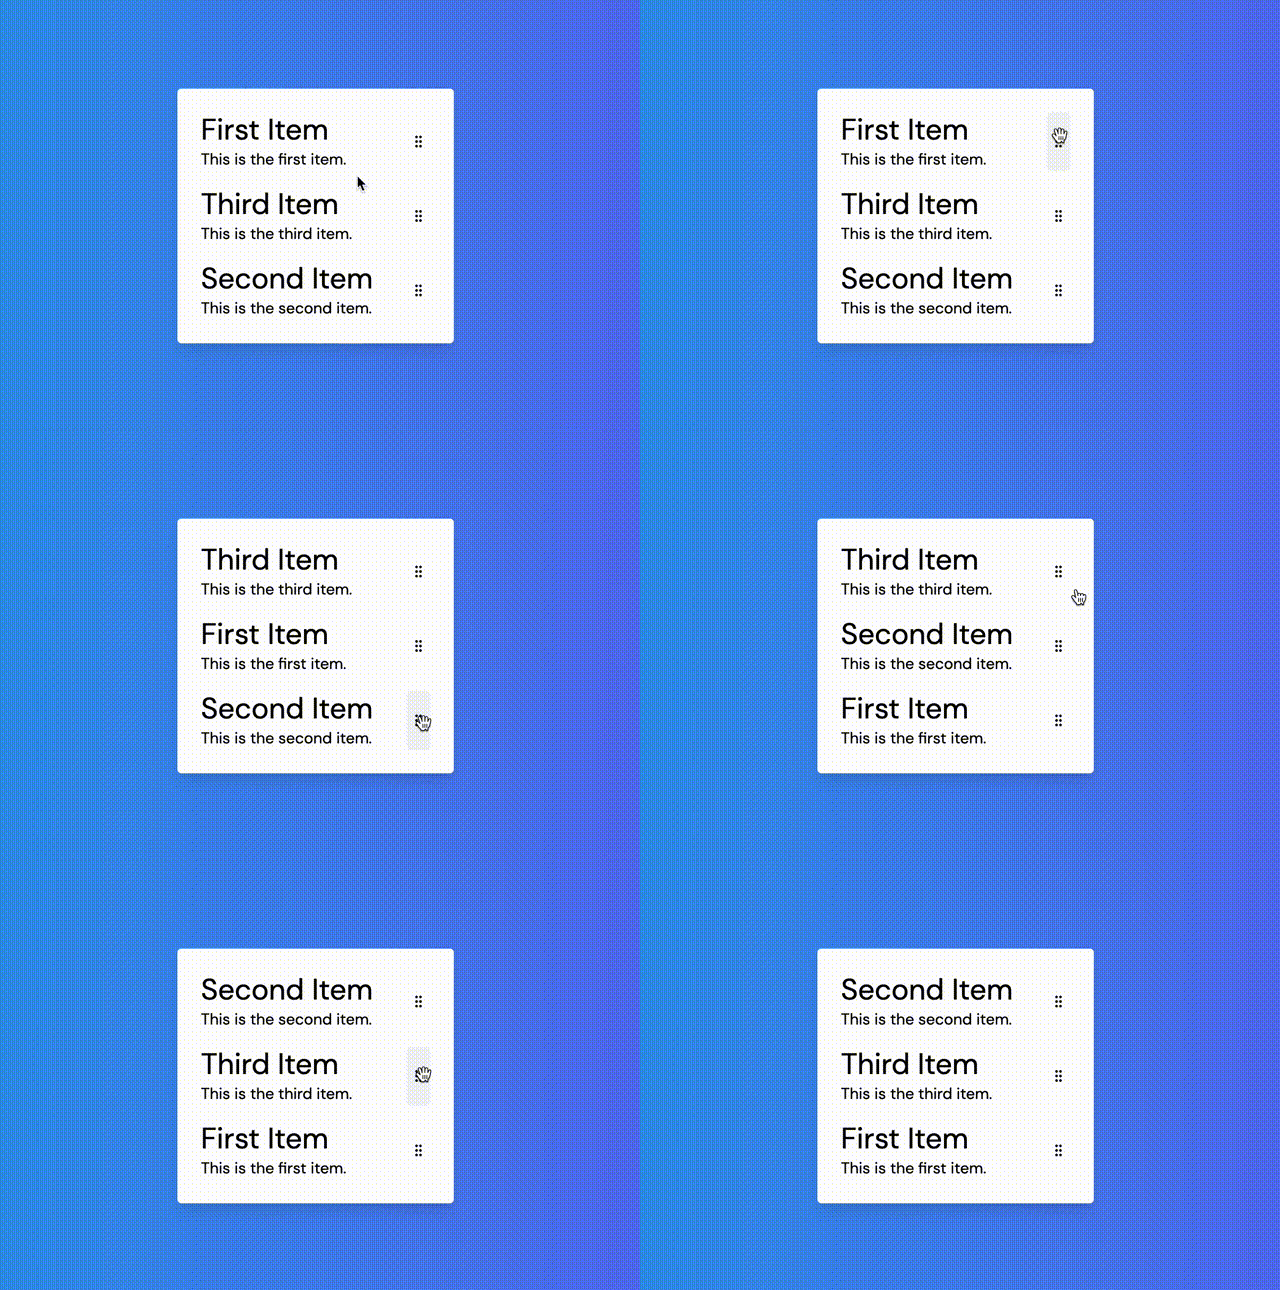
So here's what it would be look like:

Install dnd-kit
First let's create a next.js project with my template ahmadrosid/next-tailwindcss.
You can create with degit by following this command:
npx degit ahmadrosid/next-tailwindcss react-dnd-kit-exampleThen add the dnd-kit dependency to our project.
npm install @dnd-kit/core @dnd-kit/utilities @dnd-kit/sortableSetup component
Let's create list component.
function SortableItem({ item }) {
  return (
    <li className="p-2 flex gap-4 w-[250px]">
      <div className="w-full">
        <h1 className="text-3xl">{item.title}</h1>
        <p>{item.description}</p>
      </div>
      <div className="p-1 flex items-center cursor-grab hover:bg-gray-100 rounded">
        <GripVertical className="w-4 h-4" />
      </div>
    </li>
  );
}
And setup the list of data that we will use.
function App() {
  const initialValue = [
    {
      id: 1,
      title: "First Item",
      description: "This is the first item.",
    },
    {
      id: 2,
      title: "Second Item",
      description: "This is the second item.",
    },
    {
      id: 3,
      title: "Third Item",
      description: "This is the third item.",
    },
  ];

  const [items, setItems] = useState(initialValue);

  return (
    <>
      <LinearGradient option={1} width="100vw" height="100vh">
        <div className="rounded shadow-lg bg-white p-4">
          <ul>
            {items.map((item) => (
              <SortableItem key={item.id} item={item} />
            ))}
          </ul>
        </div>
      </LinearGradient>
    </>
  );
}
Integrate dnd-kit
Now that we have our component, let's integrate dnd-kit with it. First let's import the library.
import {
  DndContext,
  useSensors,
  useSensor,
  PointerSensor,
  KeyboardSensor,
  closestCenter,
} from "@dnd-kit/core";
import {
  arrayMove,
  SortableContext,
  sortableKeyboardCoordinates,
  useSortable,
  verticalListSortingStrategy,
} from "@dnd-kit/sortable";
import { CSS } from "@dnd-kit/utilities";
Now let's add the component DndContext and SortableContext to wrap our list component.
<DndContext
  sensors={sensors}
  collisionDetection={closestCenter}
  onDragEnd={handleDragEnd}
>
  <SortableContext items={items} strategy={verticalListSortingStrategy}>
    <ul>
      {items.map((item) => (
        <SortableItem key={item.id} item={item} />
      ))}
    </ul>
  </SortableContext>
</DndContext>
Then setup the sensors of the dnd context.
const sensors = useSensors(
  useSensor(PointerSensor),
  useSensor(KeyboardSensor, {
    coordinateGetter: sortableKeyboardCoordinates,
  })
);
To detect when the user is dragging an item, we'll utilize two sensors: PointerSensor and KeyboardSensor. The former allows for drag and drop with a mouse or similar pointer device, while the latter enables keyboard-based dragging by pressing tab, then space, and using the arrow keys.
In order to sort items within the SortableContext, we've elected to use the verticalListSortingStrategy. Note that both the verticalListSortingStrategy and horizontalListSortingStrategy are supported by Sortable for sorting lists vertically and horizontally, respectively.
Now what missing is the onDragEnd function.
function handleDragEnd(event) {
  const { active, over } = event;
  if (active?.id !== over?.id) {
    setItems((prev) => {
      const activeIndex = prev.findIndex((item) => item.id === active?.id);
      const overIndex = prev.findIndex((item) => item.id === over?.id);
      return arrayMove(prev, activeIndex, overIndex);
    });
  }
}
The logic of this handdle drag end is simple we just need to check the active and over items. If they are the same, we don't need to do anything. If they are different, we need to move the item.
Drag Handle
Now let's complete our SortableItem component. We will use custom handle to detect if the user is dragging an item.
Let's setup the hook to handle the drag.
const {
  attributes,
  listeners,
  setNodeRef,
  setActivatorNodeRef,
  transform,
  transition,
} = useSortable({
  id: item.id,
});
const style = {
  transform: CSS.Transform.toString(transform),
  transition,
};
Then let's setup the reference to the element that will be used to detect if the user is dragging an item.
return (
  <li
    ref={setNodeRef}
    style={style}
    {...attributes}
    className="p-2 flex gap-4 w-[250px]"
  >
    <div className="w-full">
      <h1 className="text-3xl">{item.title}</h1>
      <p>{item.description}</p>
    </div>
    <div
      {...listeners}
      node={setActivatorNodeRef}
      className="p-1 flex items-center cursor-grab hover:bg-gray-100 rounded"
    >
      <GripVertical className="w-4 h-4" />
    </div>
  </li>
);setNoderef: This option specifies which component should be moved when dragging occurs.setActivatorNodeRef: This option indicates which element should be used as a reference to detect if the user is initiating a drag action.listeners: This option specifies which element should be able to listen to events such as clicks and drags.transform: This option is used to set up the necessary styles when an element is being moved due to the drag action.transition: This option is used to set up any animations that occur while the element is being moved.
So that's all we now have finished implementing drag and drop with dnd-kit.